
Hello again! Well, here is another card and another attempt at creative photo editing with my new software. I'm still learning obviously, it seems a little overprocessed to me, but I think this is an improvement over yesterday.
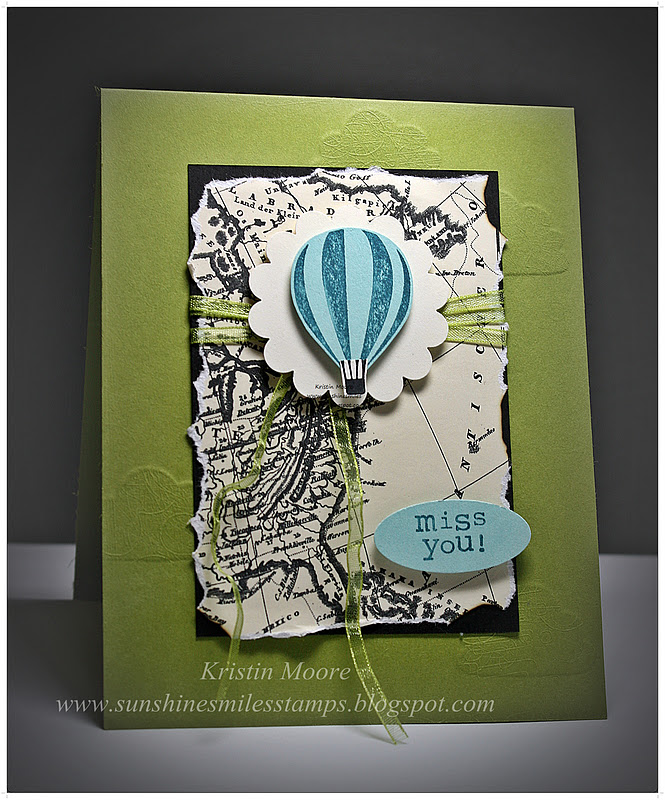
Anyway, had fun playing with this sketch from the Clean & Simple blog. Not sure why, but as soon as I saw it I thought I wanted to use this map paper from the Newsprint collection of Designer Series Paper. The hot air balloon from Up, Up & Away set came to mind next. Colors are Lucky Limeade, Island Indigo, black and vanilla.

You may need to experiment with the "sandwich" a bit to find out what works for you... but please BE CAREFUL, Big Shots are NOT indestructible! I'd start with a lean sandwich first then make it thicker until it works for you.

~Kristin
SUO Supplies
Stamps: Up, Up & Away
Colors: Lucky Limeade, Island Indigo, Basic Black, Very Vanilla
Accessories: Build-a-Cupcake punch, scallop circle punch, small oval punch, Everyday Enchantment organdy ribbon in Lucky Limeade (a Sale-a-Bration freebie starting Jan. 24!), and Newsprint DSP
First let me say what an awesome card. Beautiful designed and I love all the elements you've used. And let me thank you for the build a cloud embossing information.......... I noticed them immediately and thought "oh I wish I had that embossing plate". Who knew you could make one yourself! Thanks so much for your inspiration and wisdom.
ReplyDeletePenny
http://pennytokensstampinspot.blogspot.com